本篇大綱#
這篇要用上篇設定的 OpenStack Client 呼叫 OpenStack API 來設定 Load Balancer,設定監聽器還有連線成員。
本篇大綱#
如果 OpenStack LB 做不到 L7 的 Load Balancer,那我們就自己建立一個,把上面的工具兜起來,理解這當中的原理,組合出 HTTP L7 Load Balancer 吧!
內文#
要做到 HTTP L7 Load Balancer 就需要設定 DNS,還有 TLS 金鑰可以建立 HTTPS 連線。
DNS 這裡是掛上 Cloudflare,TLS 金鑰也是使用 Cloudflare。
Cloudflare 會採用的是加密模式為 完整 (嚴格),這個會使用 Cloudflare 的原點憑證 (Origin Certificates)。
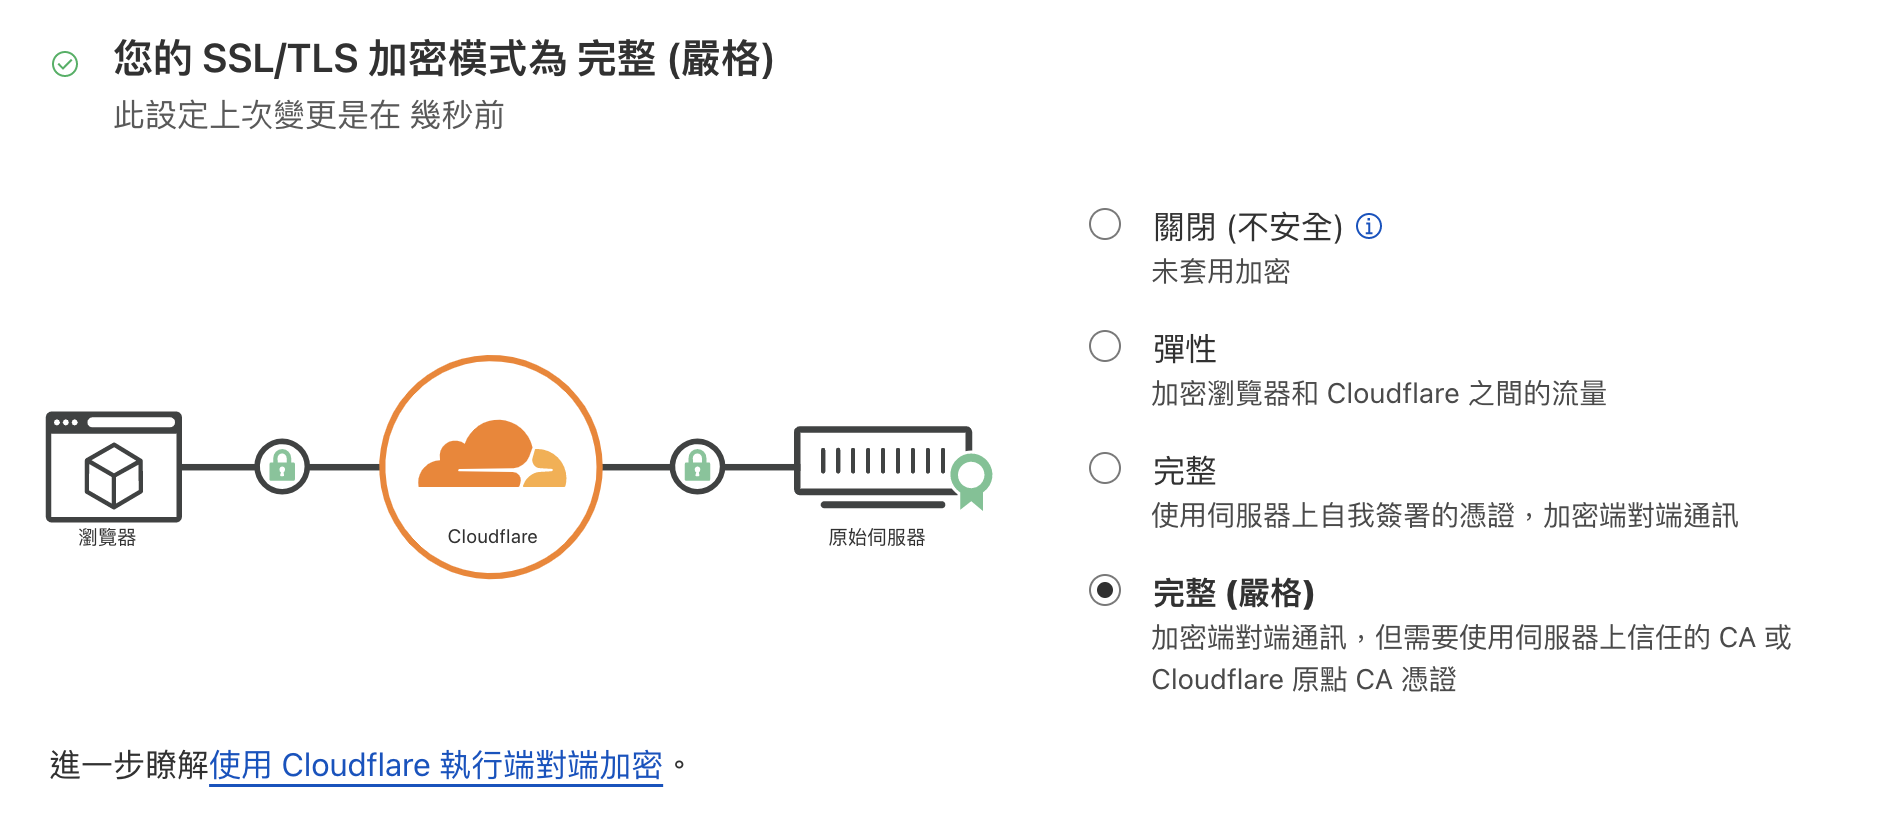
(不一定要直接套用此格式,上面選擇彈性也是可以,Cloudflare 會去自動檢測。)
產生 Cloudflare 原點憑證#
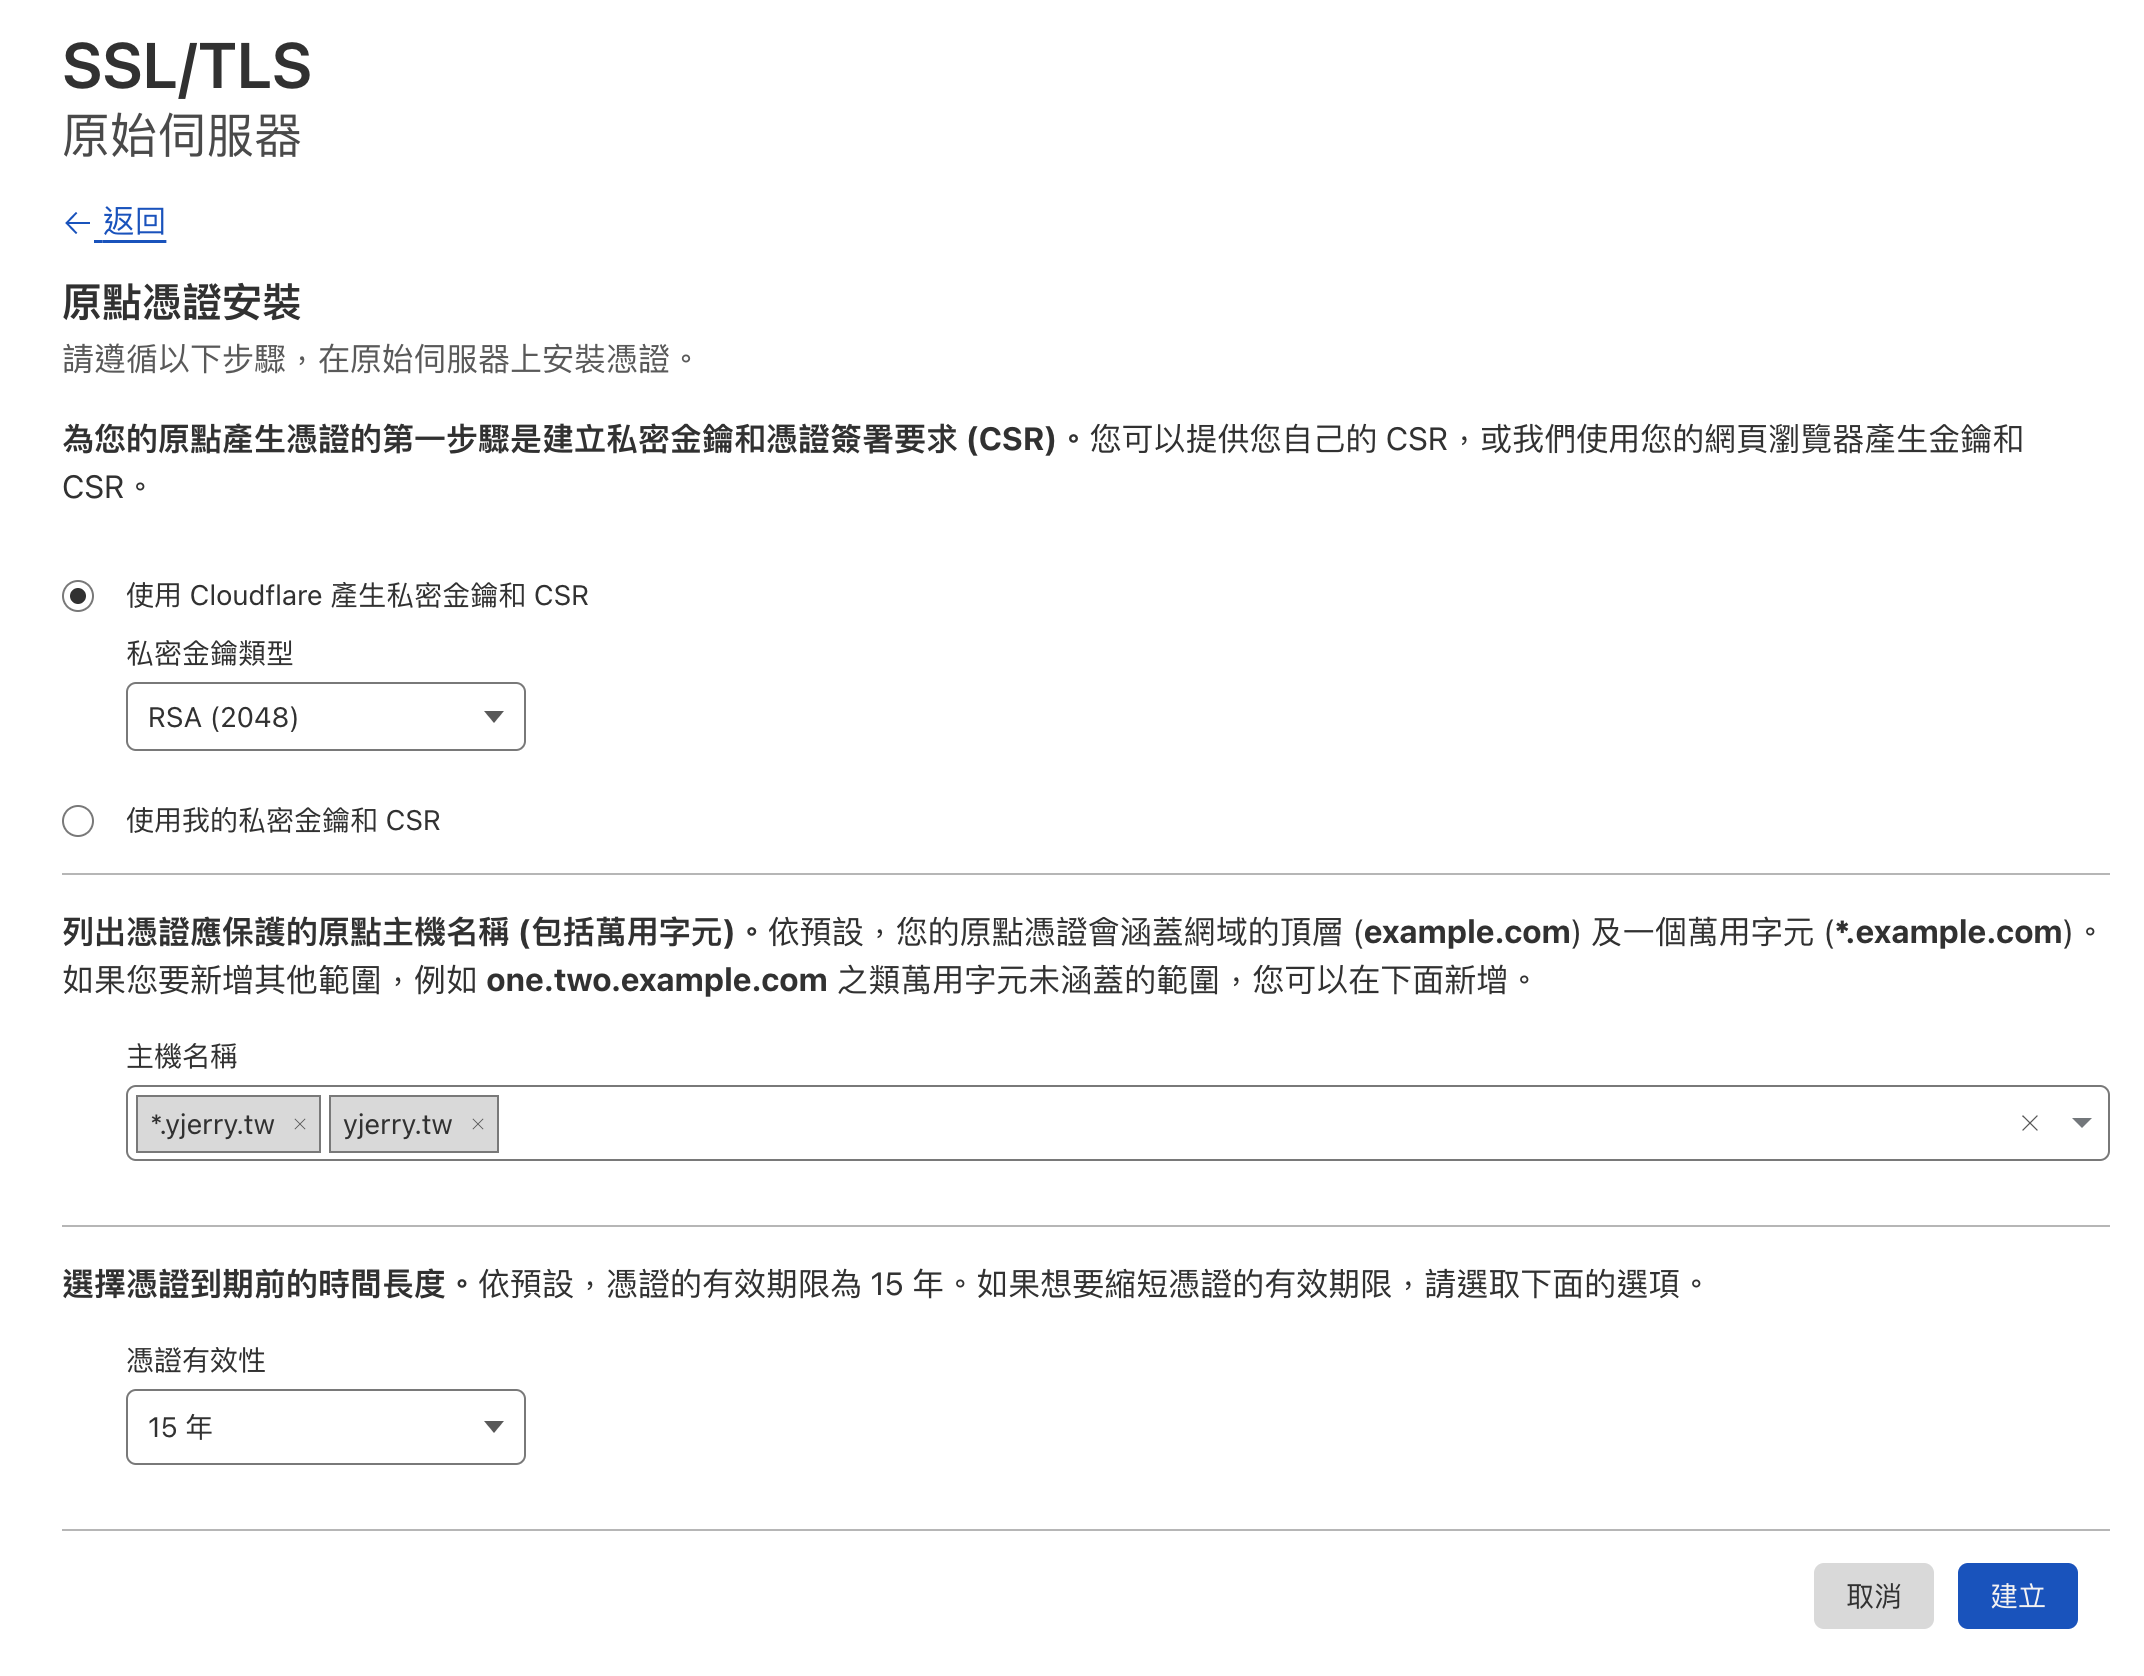
進去 Cloudflare > SSL/TLS > 原始伺服器 點擊 建立憑證

- 建立私密金鑰:
RSA (2048) - 保護主機:
yjerry.tw跟*.yjerry.tw - 憑證有效性:
15 年
Cloudflare 會產生原點憑證跟私密金鑰,原點憑證跟私密金鑰的內容都複製到 bastion-host 上面,儲存為 example.com.pem 跟 example.com.key。
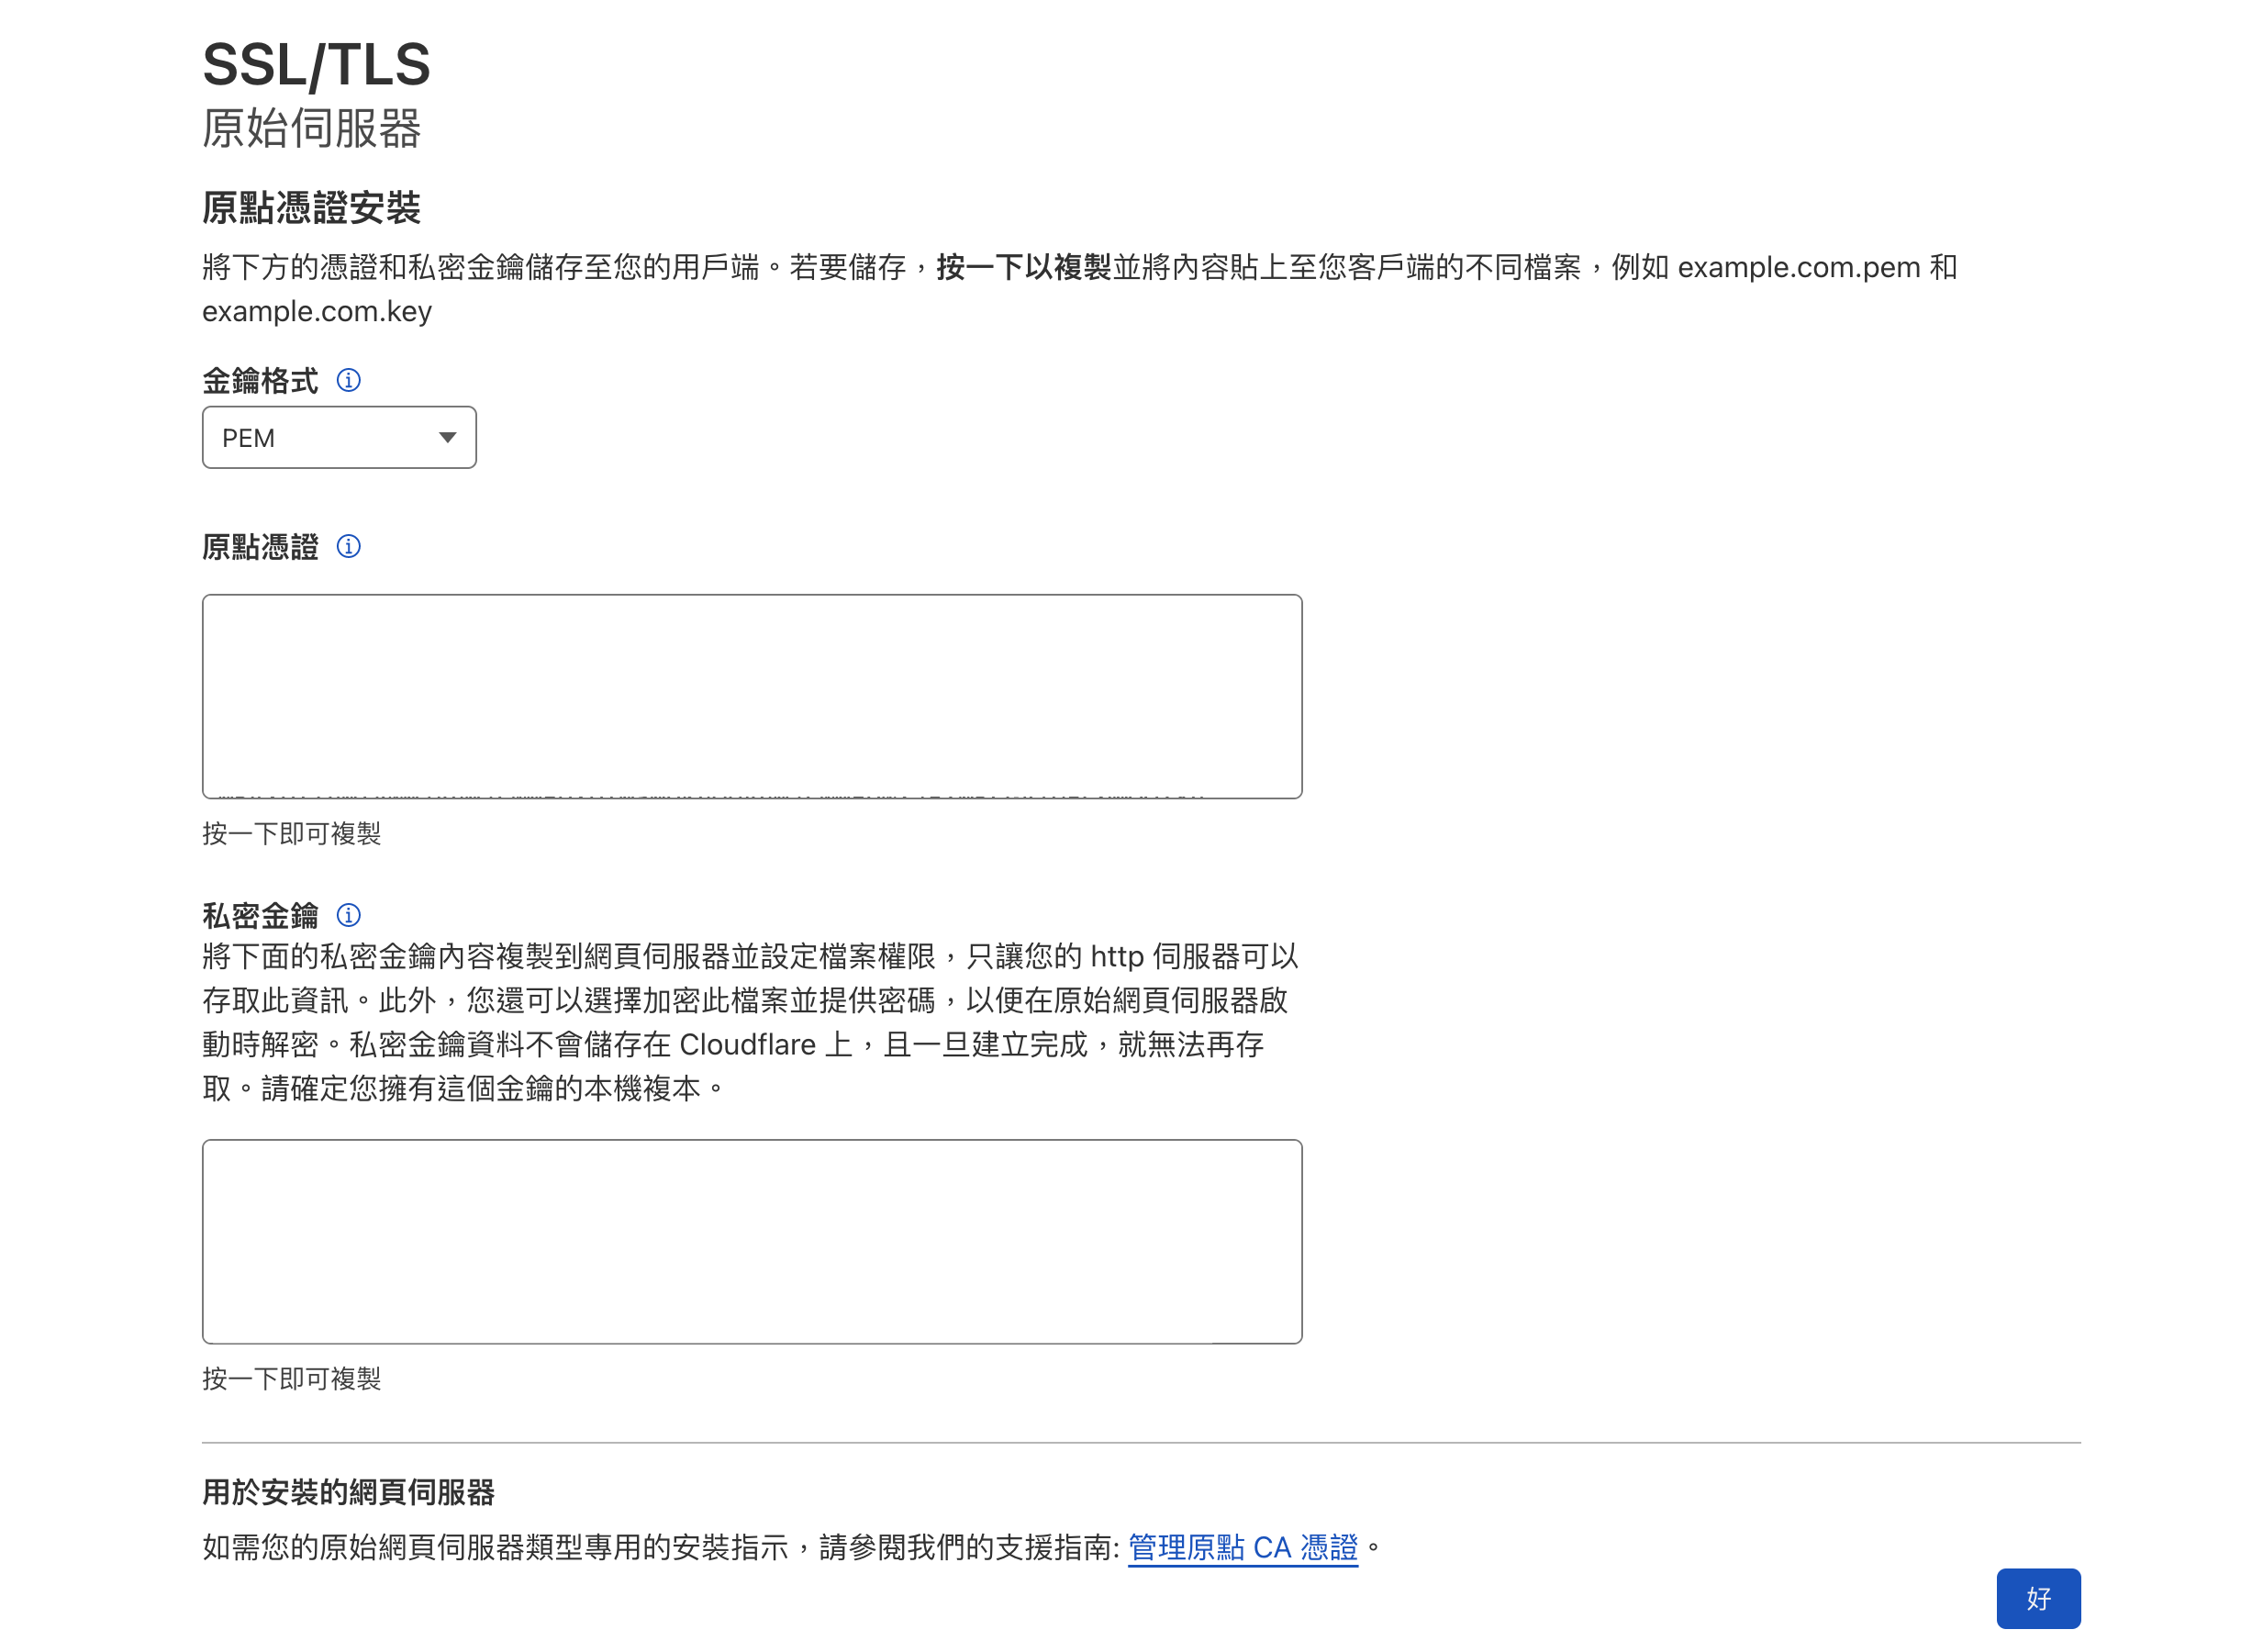
像我的 Domain 就會複製為 yjerry.tw.pem 跟 yjerry.tw.key。

接下來就把憑證放到 Kubernetes 的 Secret 裡面。
原點憑證放入 Kubernetes Secret#
這裡把原點憑證放入 Secret,建立 TLS 類別:
kubectl create secret tls yjerry-tw-cert \
  --cert=./yjerry.tw.pem \
  --key=./yjerry.tw.key \
  -n istio-ingress
# 命名為 yjerry-tw-cert
# cert 放公鑰的路徑
# key 放私鑰的路徑
這樣就加完 TLS 了,就可以跟 Cloudflare 連線就會是安全被加密的。
設定 Istio Gateway HTTPS#
接下來把上次的 Gateway 設定檔加入 HTTPS 認證
# 1. Save as `my-ingressgateway.yaml`
# 2. In bash, `kubectl apply -f my-ingressgateway.yaml`
# 3. If you want to remove, `kubectl delete -f my-ingressgateway.yaml`
apiVersion: networking.istio.io/v1beta1
kind: Gateway
metadata:
  name: my-ingressgateway
  namespace: istio-ingress
spec:
  selector:
    istio: ingressgateway # 選擇
  servers:
  - port:
      number: 80 # 開啟 HTTP Port
      name: http2
      protocol: HTTP2
    hosts:
    - "*.yjerry.tw" # 這些 DNS 進來的都會套用
  - port:
      number: 443 # 開啟 HTTPS Port
      name: https-443
      protocol: HTTPS
    hosts:
    - "*.yjerry.tw" # 這些 DNS 進來的都會套用
    tls:
      mode: SIMPLE # 使用標準 TLS 連線
      credentialName: yjerry-tw-cert # 使用的 K8s Secret
接下來就套用設定進去:
kubectl apply -f my-ingressgateway.yaml
這樣就設定完成了!
設定兩個不同的服務以及 VirtualService#
接下來會使用 Apache 還有 Nginx 兩個不同的服務,使用同一組 IP,用不同的 Domain 去區分。
- Apache:
https://apache.yjerry.tw - Nginx:
https://nginx.yjerry.tw
先來幫兩個服務個別建立 Namespace,把相關資源都放在這裡:
kubectl create namespace apache
kubectl create namespace nginx
接下來建立 Apache 的 Deployment
apiVersion: apps/v1
kind: Deployment
metadata:
  name: apache-deployment
spec:
  selector:
    matchLabels:
      app: apache
  replicas: 1
  template:
    metadata:
      labels:
        app: apache
    spec:
      containers:
      - name: apache
        image: httpd:2.4.54
        ports:
        - containerPort: 80
還有 Apache 的 Service
apiVersion: v1
kind: Service
metadata:
  name: apache-svc
  labels:
    app: apache
spec:
  ports:
  - port: 80
    protocol: TCP
  selector:
    app: apache
最後把 Apache Service 對外出去的 VirtualService
apiVersion: networking.istio.io/v1beta1
kind: VirtualService
metadata:
  name: apache-vs
spec:
  hosts:
    - apache.yjerry.tw
  gateways: # 選定的 Ingress Gateway
    - istio-ingress/my-ingressgateway # istio-ingress Namespace 下的 my-ingressgateway
  http:
    route:
    - destination:
        host: apache-svc # Service 名稱
        port:
          number: 80 # Service Port
可以把這些檔案都放在同一個資料夾 apache,最後再用 apply 套用進去:
kubectl apply -f apache/ -n apache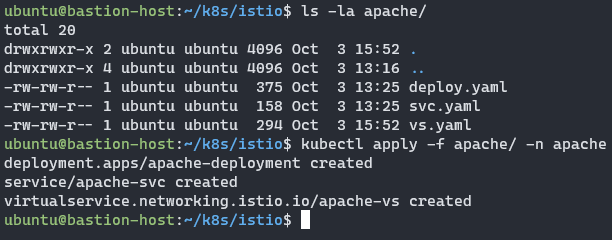
繼續建立 Nginx 的 Deployment
apiVersion: apps/v1
kind: Deployment
metadata:
  name: nginx-deployment
spec:
  selector:
    matchLabels:
      app: nginx
  replicas: 1
  template:
    metadata:
      labels:
        app: nginx
    spec:
      containers:
      - name: nginx
        image: nginx:1.14.2
        ports:
        - containerPort: 80
還有 Nginx 的 Service
apiVersion: v1
kind: Service
metadata:
  name: nginx-svc
  labels:
    app: nginx
spec:
  ports:
  - port: 80
    protocol: TCP
  selector:
    app: nginx
最後把 Nginx Service 對外出去的 VirtualService
apiVersion: networking.istio.io/v1beta1
kind: VirtualService
metadata:
  name: nginx-vs
spec:
  hosts:
    - nginx.yjerry.tw
  gateways: # 選定的 Ingress Gateway
    - istio-ingress/my-ingressgateway # istio-ingress Namespace 下的 my-ingressgateway
  http:
    route:
    - destination:
        host: nginx-svc # Service 名稱
        port:
          number: 80 # Service Port
可以把這些檔案都放在同一個資料夾 nginx,最後再用 apply 套用進去:
kubectl apply -f nginx/ -n nginx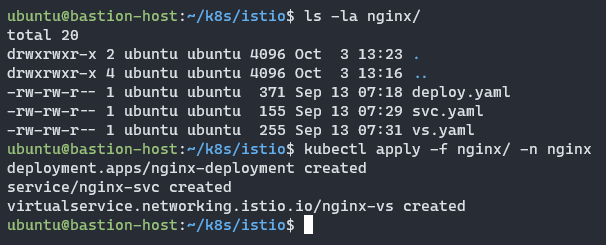
接下來設定好兩組 DNS 就可以測試連線了

測試連線#
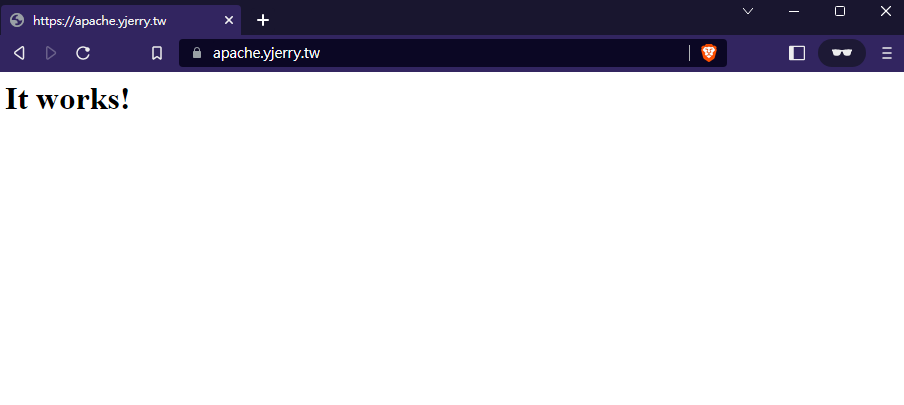
連線到 Apache https://apache.yjerry.tw
連線到 Nginx https://nginx.yjerry.tw
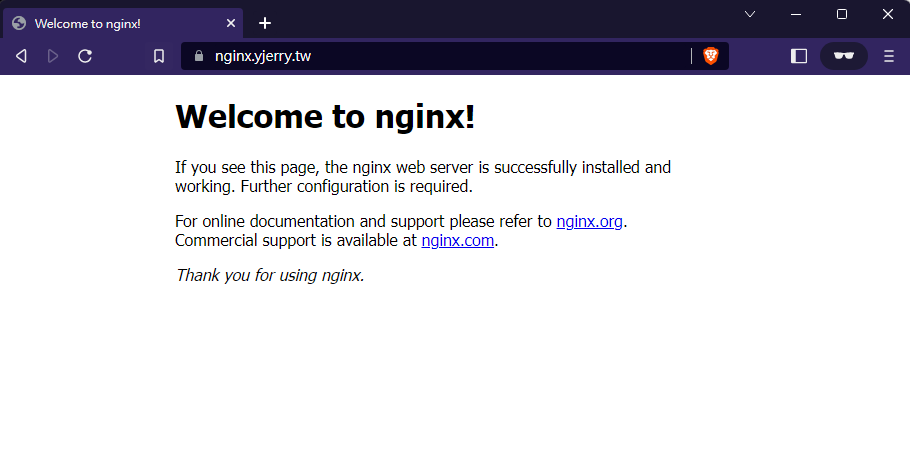
這樣就組合出 HTTP L7 Load Balancer + TLS 功能,最基礎的網站建置就完成了!
VirtualService 其實還可以很多變化,可以根據不同的 Route 跑去相對應的服務,這部分有需求就留給大家去看文件啦!
講到監控工具以前,先來說說儲存的部分,之前講 Storage 章節的時候,有說可以用工具讓 PVC 產生相對應的 PV 空間,下一篇就帶大家來看這部分。
本系列內容也會同步貼到我的 iT 邦幫忙 https://ithelp.ithome.com.tw/users/20112934 歡迎來點一下追蹤,那我們就下一篇文章見啦!