本篇大綱 這篇文章是要講述自建 K8s 了,如果不想採用 kubeadm 方式,可以採用 Kubespray 自動化安裝,實務上來說有多方測試調教會較穩定,也比較方便。
內文 Kubespray 我這裡採用當下最新版本 v2.19.1,需要先在系統內安裝 Ansible,Ansible 需要 Python 才能運作,我們可以看看文件來查看相容性問題。
https://github.com/kubernetes-sigs/kubespray/blob/v2.19.1/docs/ansible.md
VM 上的版本預先裝好的是 Python 3.10.4 的版本,依照官方教學文件建議裝上 Ansible 2.12 版本,並且使用 Python Virtual Environment。
這裡我們先裝 Python Virtual Environment
1
2
ubuntu@bastion-host:~$ sudo apt update
那這樣我們就可以把 Kubespray 專案抓下來了,複製下列命令就會抓特定版本。
1 ubuntu@bastion-host:~$ git clone --depth 1 --branch v2.19.1 https://github.com/kubernetes-sigs/kubespray.git
接下來就開始安裝 Kubespray 相關環境:
1
2
3
4
5
6
7
8
9
10
VENVDIR=kubespray-venv which python3) $VENVDIR source $VENVDIR /bin/activate cd $KUBESPRAYDIR $ANSIBLE_VERSION .txt test -f requirements-$ANSIBLE_VERSION .yml && \$ANSIBLE_VERSION .yml && \$ANSIBLE_VERSION .yml
這邊都會是順利進行的,然後就會看到前面多了 (kubespray-venv) 就代表已經啟動 Python Virtualenv 了。
接下來就來複製 Inventory:
1 cp -rfp inventory/sample inventory/mycluster
複製完後,編輯 inventory/mycluster/inventory.ini,那檔案就是我們的 Server 的設定相關資訊。
1
2
3
4
5
6
7
8
9
10
11
12
13
14
15
16
17
18
19
20
21
22
23
24
25
26
27
28
29
30
31
32
33
34
35
36
37
38
# # # # node1 ansible_host=95.54.0.12 # node2 ansible_host=95.54.0.13 # node3 ansible_host=95.54.0.14 # node4 ansible_host=95.54.0.15 # node5 ansible_host=95.54.0.16 # node6 ansible_host=95.54.0.17 # # [bastion] # bastion ansible_host=x.x.x.x ansible_user=some_user # node1 # node2 # node3 # node1 # node2 # node3 # node2 # node3 # node4 # node5 # node6
這些相關參數設定可以在 https://github.com/kubernetes-sigs/kubespray/blob/v2.19.1/docs/ansible.md#inventory 這裡找到。
基本上把所有被註解的相關參數都刪除掉就好,[bastion] 如果你的 Node 是無法直接連線就需要設定,有需要的就自行設定,因為這裡都是直接連線到 bastion-host 做操作,因此不需要。
那就依照 Ansible 給的語法把 Host 資訊填寫上去,[all] 填寫所有的主機內容、IP、登入 Username。
1 2 3 4 5 6 7 8 9 10 11 12 13 14 15 16 17 18 19 20 21 22 [all]ansible_host =192.168.200.101 ansible_user =ubuntuansible_host =192.168.200.102 ansible_user =ubuntuansible_host =192.168.200.103 ansible_user =ubuntu
參數基本上只要照預設也是可以跑,需要調參數就自行去翻 Kubespray 文件。
那我們就改兩個地方
inventory/mycluster/group_vars/k8s_cluster/k8s-cluster.yml 的 cluster_name,改成 k8s.yjerry.tw(名字自訂)。inventory/mycluster/group_vars/all/all.yml 的 Line 20 解除註解 loadbalancer_apiserver_localhost 設定為 false,因為我們沒有多個 Master node,因此不需要 Load Balancer API Server。
最後下此命令安裝:
1
2
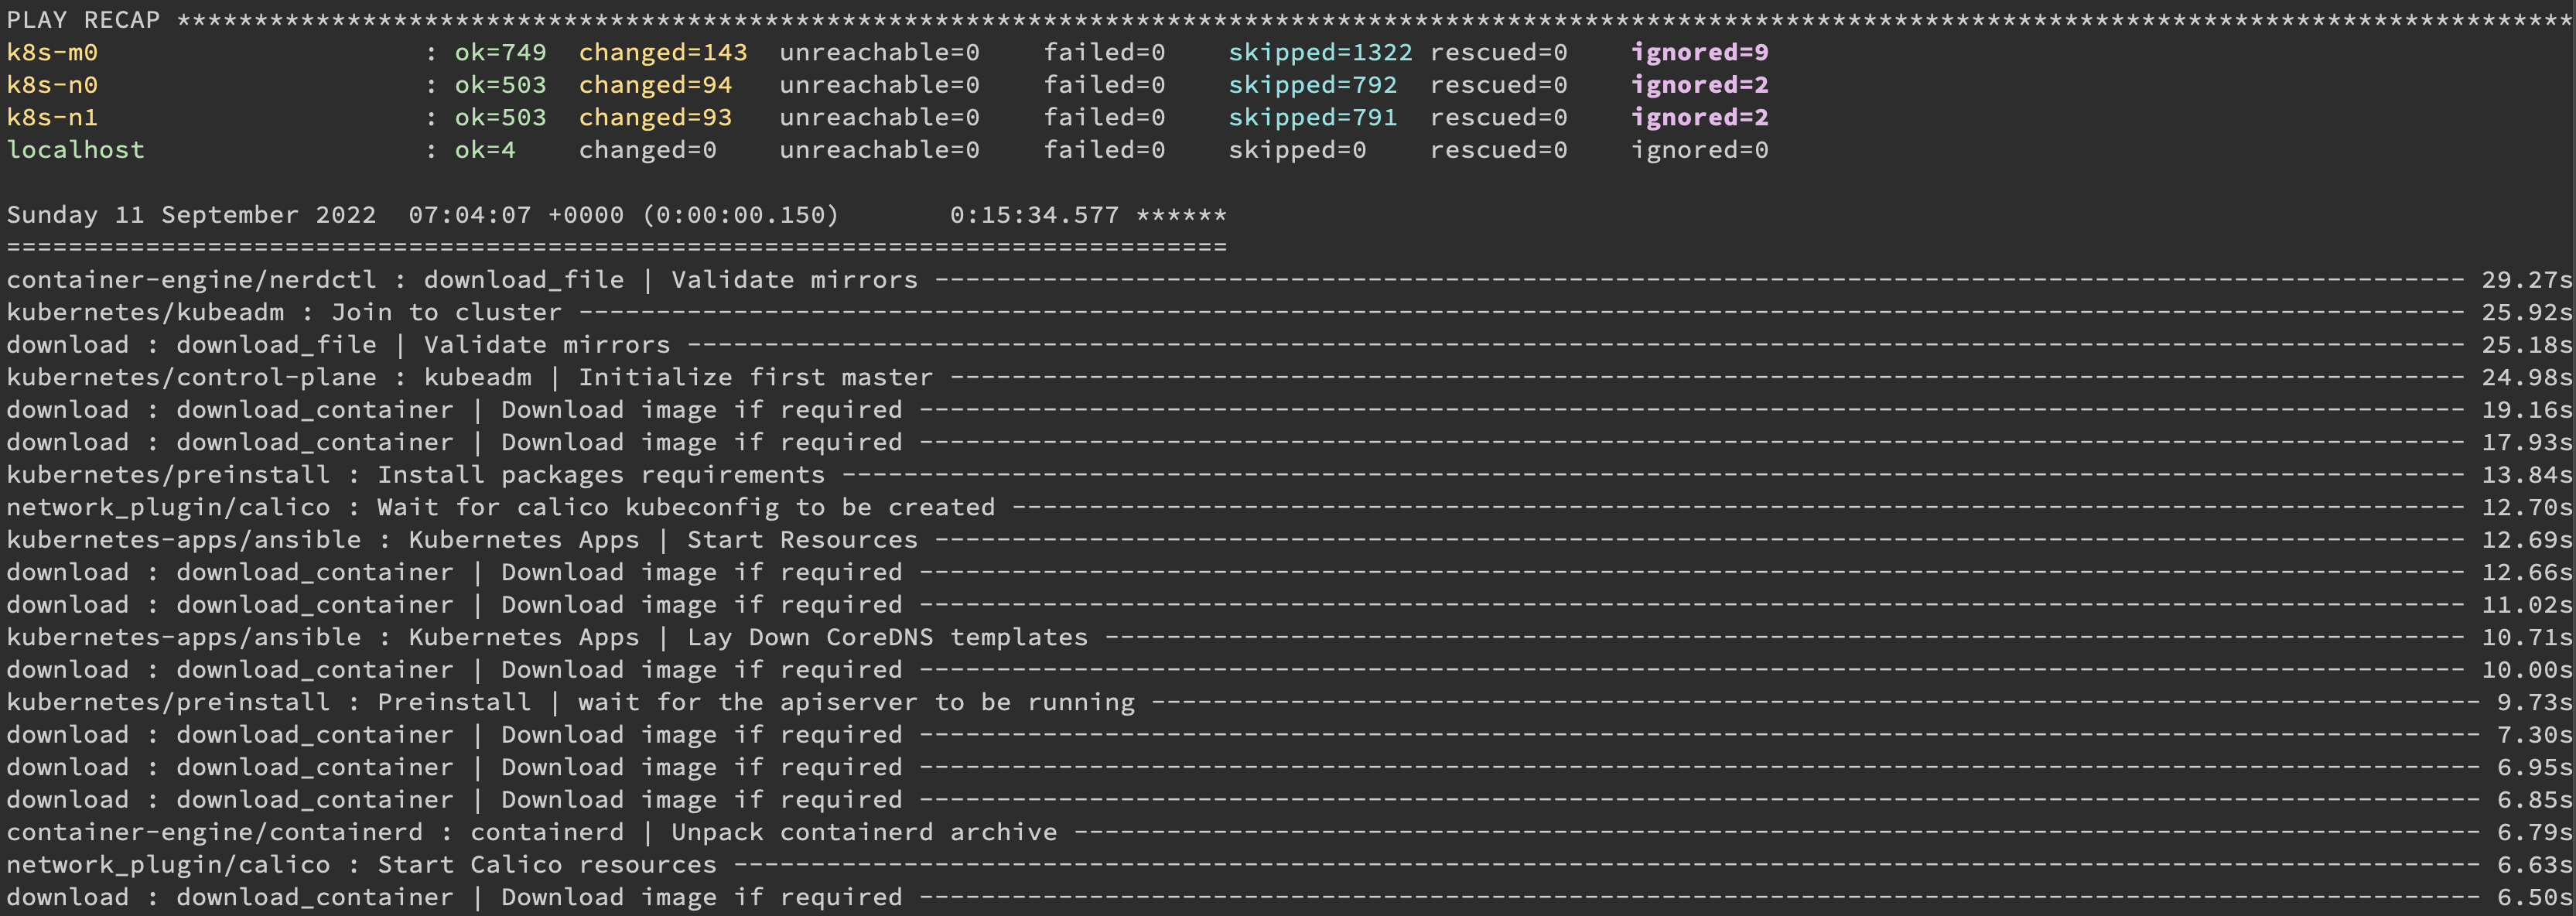
安裝完以後會顯示這樣。
我們已經安裝好了,但是需要拿它裡面的 Token 才可以存取,Token 會放在 Master node 的 /etc/kubernetes/admin.conf。
1 2 3 4 5 cp /etc/kubernetes/admin.conf ~/chown ubuntu:ubuntu ~/admin.confmkdir -p .kubemv ~/admin.conf ~/.kube/config
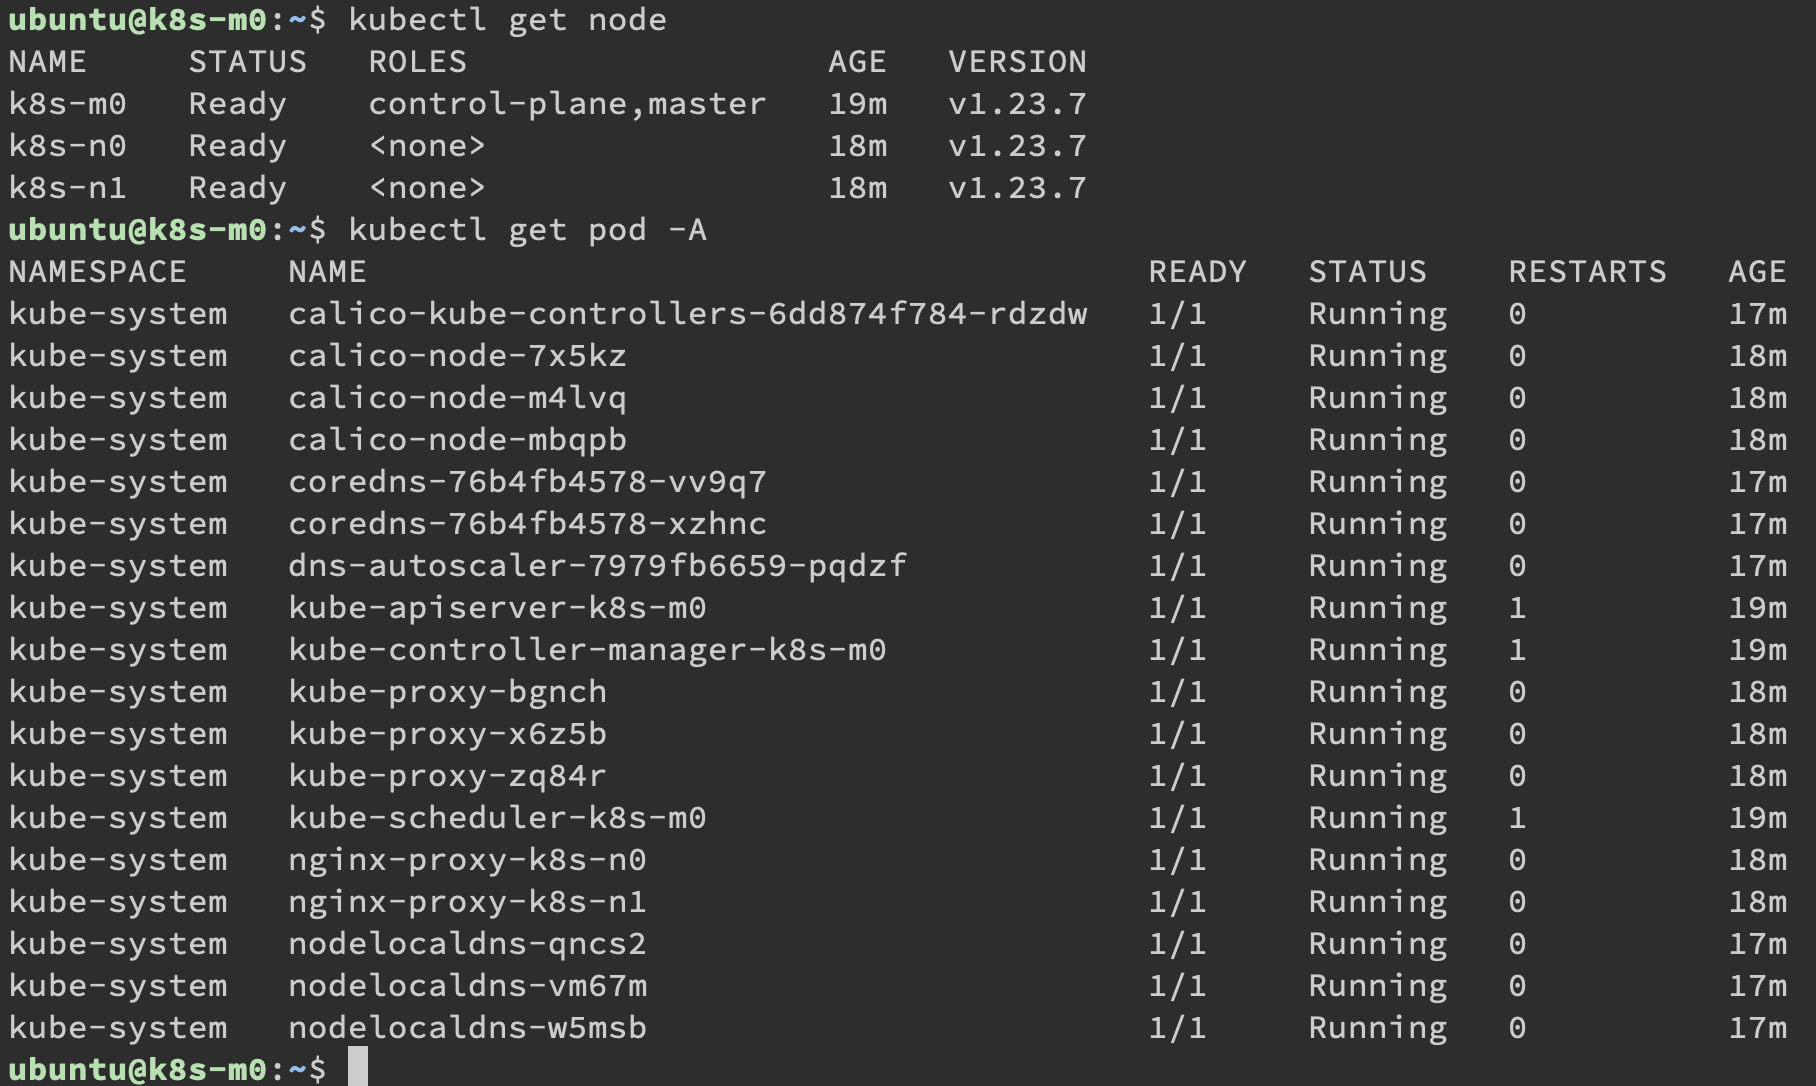
嘗試用 kubectl 存取節點
1
2
ubuntu@k8s-m0:~$ kubectl get node
那接下來我們就把 scp 把 config 檔案下載出來,回到 bastion-host。
1
2
(kubespray-venv) ubuntu@bastion-host:~$ mkdir -p ~/.kube[email protected] :~/.kube/config ~/.kube/config
開啟編輯,把裡面的 127.0.0.1 改為 192.168.200.101。
但是因為我們還沒在 bastion-host 裝上 kubectl,去官方網站下載,因為 Cluster 版本為 1.23.7,下載的 kubectl 也是要在 1.23.7 (一個 minor version 以內是可以相容的,裝上 1.22 或 1.24 都可以)
1
2
3
4
5
6
7
8
9
10
11
curl -LO "https://dl.k8s.io/release/v1.23.7/bin/linux/amd64/kubectl" "https://dl.k8s.io/v1.23.7/bin/linux/amd64/kubectl.sha256" echo "$(cat kubectl.sha256) kubectl" | sha256sum --checkrm kubectl*
bastion-host 再執行一次 kubectl get node
這樣就可以在 bastion-host 控制 Kubernetes cluster 了。
到這裡為止我們已經建好 Cluster,但是如果想要擴充資源該怎麼辦呢?Kubespray 也可以做到,明天就接續講 Kubespray 加入刪除節點。
本系列內容也會同步貼到我的 iT 邦幫忙 https://ithelp.ithome.com.tw/users/20112934 歡迎來點一下追蹤,那我們就下一篇文章見啦!


